

How to Prepare Digital Art for Smooth Printing Results
Printing looks simple from the outside. You send a file and get a print. But in real work, it is not that easy. Small mistakes in digital art can cause blurry prints, wrong colors, or poor quality output. That is why good preparation is very important.Many designers first learn how to Create Vector Art For Printing because it helps keep designs sharp and clean at any size.
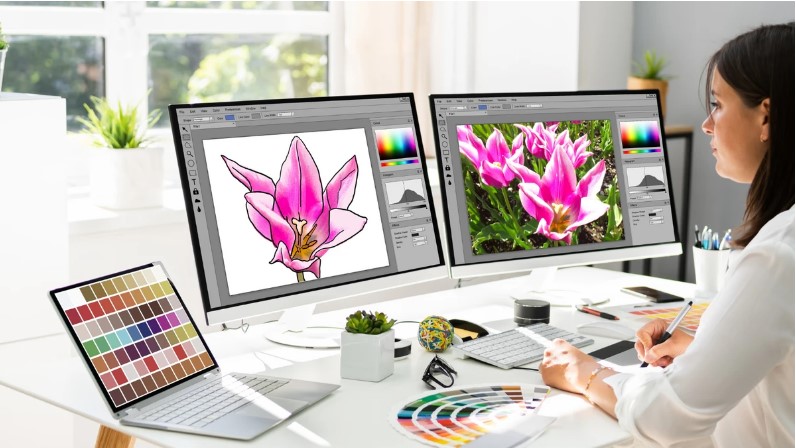
Vector art does not lose quality when you scale it up or down. This makes it one of the best starting points for print work.
When digital art is not prepared well, printers struggle. Colors may shift. Text may break. Images may look soft. But with the right steps, you can avoid all these issues and get smooth, clear, and professional results every time.
In this guide, we will go step by step. You will learn how to prepare your artwork in a simple and practical way.
Why Print Ready Art Matters
Print is different from screen viewing. A screen uses light. Print uses ink. That change makes a big difference.
What Can Go Wrong Without Proper Prep
Blurry Images
Low quality files become fuzzy when printed.
Wrong Colors
Screen colors may not match print ink.
Pixel Breaks
Small images may lose detail.
Text Issues
Fonts can shift or look uneven.
Good preparation solves these problems before they happen.
Start with High Quality Source Art
Everything begins with the original design.
Best Starting Files
- Vector files
- High resolution images
- Clean scanned drawings
- Layered design files
What to Avoid
- Low resolution screenshots
- Blurry images from web
- Small pixel files
A strong base makes printing easy.
Understand Vector vs Raster Art
This is a key step in print design.
Vector Art
- Made with lines and shapes
- Can scale without losing quality
- Best for logos and text
Raster Art
- Made with pixels
- Can become blurry when enlarged
- Used for photos
For printing, vector art is often better for clean designs.
Choose the Right Resolution
Resolution affects print sharpness.
Simple Rule
Higher resolution means better print quality.
Common Print Standards
- 300 DPI for most prints
- 600 DPI for fine detail work
Why It Matters
Low DPI can make prints look soft or pixelated.
Always check resolution before sending files.
Use Correct Color Mode
Colors on screen are not the same as print colors.
RGB vs CMYK
RGB
Used for screens like phones and computers.
CMYK
Used for printing.
Why CMYK Matters
Printers use ink, not light. CMYK matches real ink colors better.
Always convert your file before printing.
Keep Your Design Clean and Simple
Simple designs print better.
Why Simplicity Helps
- Less chance of error
- Cleaner color results
- Easier file handling
Good Design Habits
Use Bold Shapes
They stay clear in print.
Avoid Tiny Details
Small parts may disappear.
Limit Colors
Too many colors can cause mismatch.
Simple design often looks more professional.
Check Fonts and Text Carefully
Text is one of the most common print issues.
Best Practices
Use Clear Fonts
Avoid thin or fancy fonts.
Convert Text to Shapes
This prevents font changes during printing.
Keep Size Large Enough
Small text may not print clearly.
Always zoom in and check readability.
Prepare Images for Print
If your design includes images, quality matters a lot.
Image Tips
- Use high resolution photos
- Avoid stretching small images
- Use clean edges
- Remove blur before print
Common Mistake
Many people stretch small images. This leads to poor print quality.
Organize Layers in Your File
Good file structure helps printers work faster.
Why Layers Matter
- Easy editing
- Clear design parts
- Less confusion
Simple Layer Setup
- Background
- Main design
- Text
- Effects
Keep everything labeled clearly.
Set Proper Bleed and Margins
Bleed is extra space around your design.
Why Bleed Is Important
It prevents white edges after cutting.
Simple Rule
Add extra space around all sides.
Margin Safety
Keep important text away from edges.
This avoids cut-off issues.
Check Print Size Before Export
Size matters a lot in printing.
Always Confirm
- Width
- Height
- Scale ratio
Why It Matters
A design that looks good small may not work big, and vice versa.
Double check size before final export.
Choose the Right File Format
Different printers use different formats.
Common Print Formats
- AI
- EPS
- TIFF
- PNG (for simple jobs)
Best Choice
PDF is often safe for most print shops.
Avoid Overusing Effects
Effects look nice on screen but may not print well.
Be Careful With
- Shadows
- Glow effects
- Blurs
- Transparency
Print Risk
Some effects may disappear or change in print.
Use effects lightly.
Do a Test Print
Never skip this step.
Why Test Prints Help
- Checks color accuracy
- Shows real detail
- Finds design errors
What to Check
- Color match
- Sharpness
- Text clarity
- Layout balance
A small test can save a big job.
Real Experience Insight
From real print work, one lesson is very clear. Designs that look perfect on screen can still fail in print. The reason is always poor preparation.
The most common fixes are simple:
- Convert to CMYK
- Increase resolution
- Clean vector paths
- Remove tiny details
These small steps make a huge difference.
Common Mistakes to Avoid
Using Low Quality Images
Always start with high resolution.
Ignoring CMYK Mode
RGB colors may print wrong.
Forgetting Bleed Area
This causes cut-off edges.
Overcomplicated Designs
Too many effects reduce clarity.
Not Testing Print
Skipping test prints can lead to waste.
Professional Workflow for Better Results
Follow this simple flow:
- Create or open design
- Clean and simplify art
- Convert to vector if possible
- Set CMYK color mode
- Adjust resolution to 300 DPI or more
- Add bleed and margins
- Check size carefully
- Export correct file format
- Do a test print
- Make final adjustments
This process is used in real design work.
Why Good Preparation Builds Trust
If you work with clients, print quality matters a lot.
What Clients Notice
- Sharp details
- True colors
- Clean layout
- No printing errors
What Builds Trust
- Consistent results
- Fast corrections
- Clear communication
- Professional files
Good preparation builds long term trust.
Final Thoughts
Preparing digital art for smooth printing is not just about design skill. It is about careful setup. Every step matters, from file type to color mode to resolution.
When you use clean vector art, correct CMYK colors, proper size, and good file structure, your print results improve a lot. Simple designs often work best, and test prints help you avoid mistakes.
With practice, these steps become natural. You will start creating print ready designs that look sharp, clear, and professional every time.
